
How to Treat Your Child’s First Cavity: A Parent’s Guide
As a parent, nothing strikes fear into the heart quite like hearing that your child has developed their first cavity. It’s a moment many parents dread, but it’s also an inevitable part of childhood for many. The good news is, with the right treatment and care, a child’s first cavity can be addressed quickly and effectively, allowing your child to maintain a healthy, beautiful smile. So, how should you treat your child’s first cavity, and what steps can you take to avoid future dental issues? Read on for expert advice and practical tips!
1. Recognizing the Symptoms of a Cavity
Before diving into treatment options, it’s crucial to recognize the signs that your child may have a cavity. Symptoms can vary depending on the severity of the cavity, but some common ones include:
- Visible holes or dark spots on the teeth
- Pain or sensitivity, especially to hot, cold, or sweet foods
- Bad breath or an unusual taste in the mouth
- Difficulty chewing or discomfort while eating
If you notice any of these symptoms, it’s time to make an appointment with a dentist. Early detection and treatment can prevent further damage and ensure that the cavity doesn’t progress into something more serious, like an abscess or infection.
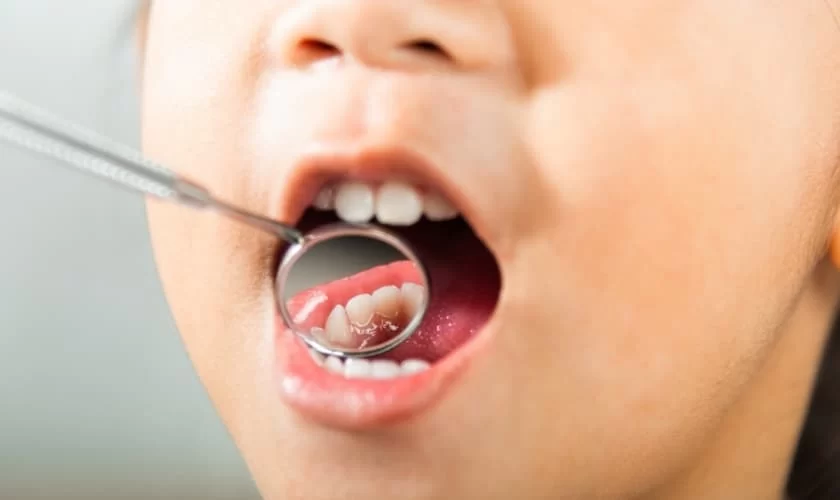
2. Visiting the Dentist: What to Expect
When you take your child to the dentist for their first cavity, don’t be surprised if they feel a bit nervous. Children often feel anxious about dental visits, especially if they’ve never had a dental procedure before. Here’s what you can expect during the appointment:
- The dentist will perform an exam and may take an X-ray to assess the extent of the cavity.
- If the cavity is small, your dentist may simply clean the area and fill the cavity with a special material.
- If the cavity is more extensive, the dentist may need to perform additional work, such as placing a crown or recommending a more advanced treatment.
During the procedure, the dentist will likely use local anesthesia to numb the area around the cavity, so your child won’t feel any pain. However, it’s normal for children to feel some discomfort or pressure during the procedure.
3. The Role of Filling Materials
Once the cavity is cleaned out, the next step is to fill it with a suitable material. For children, the most common filling materials include:
- Silver amalgam: A durable material that has been used for many years. However, it’s noticeable due to its silver color and may not be ideal for visible teeth.
- Composite resins: Tooth-colored fillings that blend in with the natural color of the teeth, making them a popular choice for cavities in visible areas like the front teeth.
- Glass ionomer: A material that releases fluoride and is ideal for areas that are difficult to reach, such as the back teeth.
Each material has its advantages and disadvantages. Your dentist will discuss the best option based on the location of the cavity and the overall health of your child’s teeth.
4. Aftercare and Managing Discomfort
After the filling procedure, it’s important to care for your child’s teeth to ensure proper healing and prevent future cavities. Here are some aftercare tips:
- Encourage your child to avoid hard or sticky foods for the first 24 hours to allow the filling to set properly.
- If your child experiences mild discomfort or sensitivity, over-the-counter pain relievers may help alleviate any pain.
- Keep up with regular brushing and flossing to maintain good oral hygiene, especially around the filled tooth.
- Make sure your child returns for regular dental checkups to monitor the progress of the filling and detect any potential issues early.
5. Preventing Future Cavities: Tips for Parents
Once the first cavity is treated, it’s important to take steps to prevent future cavities from developing. Cavities are common in children, but they can be prevented with the right habits and dental care. Here’s how you can help:
- Establish a brushing routine: Make sure your child brushes their teeth at least twice a day with fluoride toothpaste, especially before bed. Supervise their brushing until they are old enough to do it independently.
- Limit sugary snacks and drinks: Sugary foods and drinks are a major contributor to tooth decay. Encourage healthy snacks like fruits and vegetables, and limit sugary beverages like soda and juice.
- Fluoride treatments: Ask your dentist about fluoride treatments or fluoride varnish for your child’s teeth, which can help strengthen enamel and protect against cavities.
- Regular dental checkups: Take your child for regular dental checkups every six months. This helps catch any potential issues early and allows the dentist to provide professional cleaning and fluoride treatments.
6. Real-life Story: A Child’s Journey with a First Cavity
To help you understand the process and ease your concerns, let’s share a real-life story of how one parent handled their child’s first cavity:
When Sarah’s 6-year-old son, Jake, complained of a toothache, she initially thought it was just a phase. But when the pain persisted, Sarah took him to the dentist, who confirmed that Jake had his first cavity. The dentist assured Sarah that the cavity was small and easy to treat, and Jake was a good candidate for a composite resin filling.
After the procedure, Jake felt a little discomfort but was soon back to his usual self. Sarah made sure to reinforce healthy dental habits at home, including regular brushing and flossing. With the right care, Jake’s cavity was a thing of the past, and he’s now cavity-free!
Sarah’s experience is a reminder that while a child’s first cavity can be concerning, it’s manageable with the right approach. With early detection, professional care, and consistent at-home routines, you can help ensure your child’s smile stays healthy and bright!


 Dr. Karen M. Arents, DDS5.0 (5 review)
 FOX & ABRAHAM Orthodontics2.0 (1 review)
 Axiom Dentistry4.0 (314 review)
 Lightfoot Center for Laser Periodontics5.0 (69 review)
 Aspen Dental - Mechanicsville, VA3.0 (396 review)
 Western Dental & Orthodontics3.0 (305 review)
 The Importance of Oral Health Education During Pregnancy for a Healthy Pregnancy
 Best Tips for Brushing Your Teeth Properly for Healthy Gums: Essential Techniques for Oral Health
 Why Skipping Dental Checkups Can Lead to Bigger Oral Health Problems
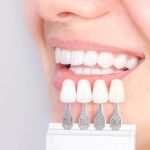 Advantages of Porcelain Dental Restorations
 How Can Diabetes Cause Tooth and Gum Problems? Preventing and Managing Oral Health Issues
 Healthy Habits for Promoting Good Oral Health and Hygiene: Tips for a Healthy Smile